Wet Concrete & Stone Polisher Guide: Pads, Grits, Safety
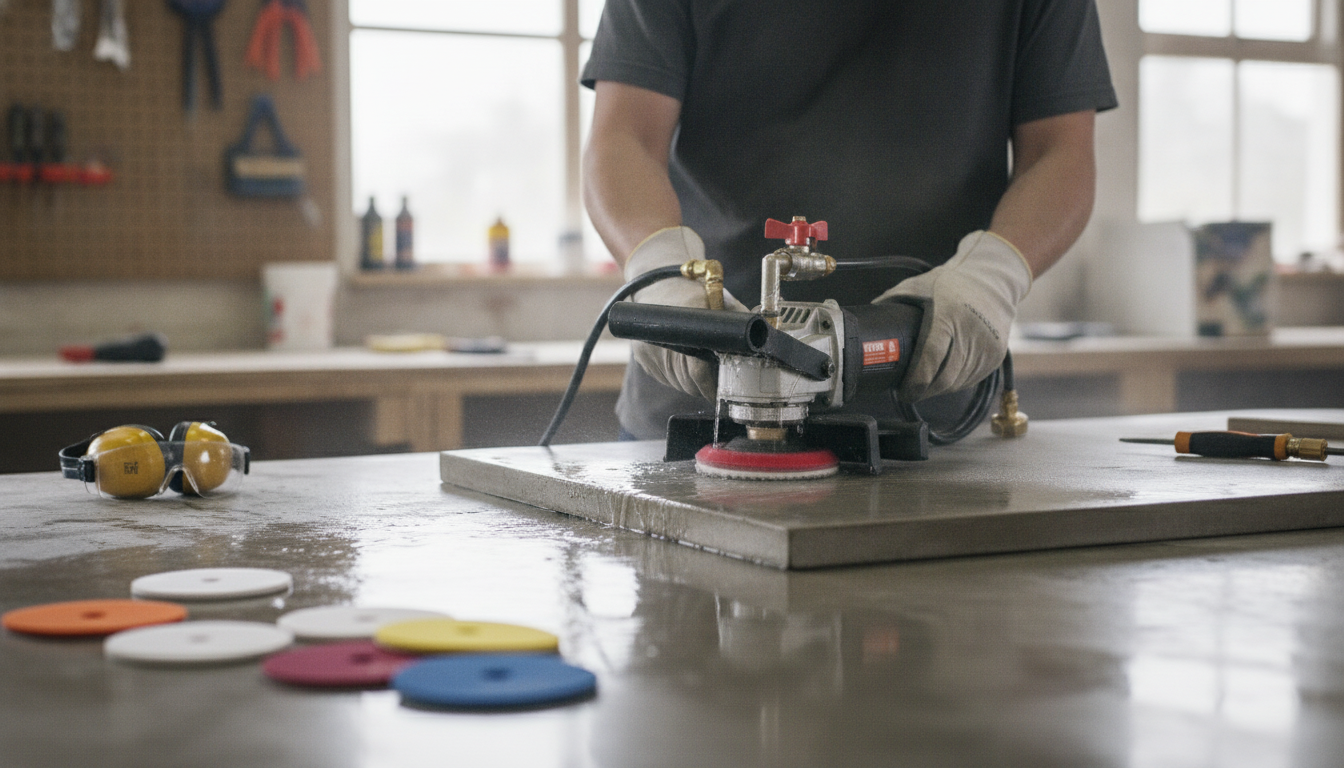
Wet Concrete & Stone Polisher: Smooth Finishes on Concrete, Granite, Marble, and More
A wet polisher is built to refine hard, mineral-based surfaces while keeping heat and dust under control with a steady water feed. For concrete countertops, stone tile, edges, and small repairs, the right wet setup helps produce a more consistent sheen, lowers the odds of swirl marks, and supports safer work practices when grinding materials that may contain silica.
What a Wet Polisher Is Used For
Wet polishing is a practical approach whenever surface quality and temperature control matter. Common uses include:
- Refining concrete surfaces: removing scratches, leveling small imperfections, and building sheen through successive grits.
- Polishing natural stone: granite, marble, quartz, and engineered stone (confirm pad compatibility for the material).
- Edge work: bullnose/round-over touch-ups, sink cutout finishing, and stair nosing refinements.
- Surface restoration: bringing back clarity on worn stone, addressing light etching, and blending repaired areas.
- Dust control benefits: wet use can reduce airborne dust compared with dry grinding (still follow silica safety requirements).
Wet vs. Dry Polishing: When Each Makes Sense
Wet and dry polishing can both deliver a good finish, but they behave differently at the pad and surface. Wet polishing typically keeps pads cooler, can extend pad life, and often improves clarity on dense stone by minimizing heat-related micro-marring. The tradeoff is slurry: it must be contained, cleaned, and kept off adjacent surfaces that could stain.
Dry polishing can be convenient for quick spot work or locations where water isn’t practical, but it usually generates more heat and airborne dust. For indoor projects—especially in finished spaces—plan containment before starting: plastic sheeting, a controlled water source, and a strategy for slurry capture so cleanup doesn’t become the hardest part of the job.
| Factor | Wet Polishing | Dry Polishing |
|---|---|---|
| Dust in the air | Lower (with adequate water flow) | Higher (requires effective extraction) |
| Heat on pads/surface | Lower | Higher |
| Cleanup | Slurry management required | Dust cleanup required |
| Finish quality (common outcome) | Often clearer on dense stone | Can be good but more sensitive to heat and technique |
| Best use cases | Countertops, edges, high-finish stone | Small touch-ups, locations where water is impractical |
Choosing Pads and Grit Progression
A clean, even finish usually comes down to two things: using the correct pad type for the surface and following a logical grit progression. Start with the least aggressive grit that removes the defect. If you’re chasing deeper scratches or casting marks on concrete, you may need to start low (50 or 100). If the surface is already close and you’re only removing light haze, beginning at 200 or 400 can prevent unnecessary material removal.
- Don’t skip too far: large jumps can leave hidden scratches that show up later as swirls or dull patches.
- Common sequences: 50 → 100 → 200 → 400 → 800 → 1500 → 3000 (adjust based on hardness and the sheen you want).
- Edges need control: use smaller pads or edge tools to keep uniform pressure and avoid unintentionally rounding a profile.
- Keep pads clean: contamination is a frequent cause of mystery scratches—one stray coarse particle can undo multiple finishing steps.
Setup and Safe Operation
Wet polishing introduces water into an electrical tool environment, so safe setup matters as much as technique. Use a GFCI-protected outlet, inspect cords and fittings, and keep plug connections elevated and away from standing water. Aim for a thin, consistent film of water on the surface: too little water increases heat (and can glaze pads or create haze), while too much can cause pads to hydroplane and reduce cutting action.
Personal protective equipment is still important even with wet methods: eye/face protection, hearing protection, non-slip footwear, and gloves suited for wet handling. Also note that wet polishing does not eliminate silica exposure concerns—follow recognized guidance for respirable crystalline silica controls and cleanup practices. Refer to OSHA’s silica requirements for construction and the NIOSH silica safety topic for additional background.
- Protect adjacent finishes: tape off cabinets, walls, and flooring, and use plastic sheeting where needed.
- Plan slurry management: prevent slurry from entering drains unless local rules and jobsite conditions allow; capture and dispose properly.
- Check the tool before starting: wobble, unusual vibration, or a damaged backing pad can telegraph into the finish.
Technique for a Cleaner, More Even Finish
Maintenance and Storage
Product Options Available
- Wet Concrete & Stone Polisher — suited for wet polishing tasks on concrete and stone surfaces where controlled water use and consistent pad progression are important. Best for countertops, tiles, edges, and restoration work where reduced heat is a priority.
- 66ft Drain Cleaning Cable — helpful for jobsite cleanup and maintenance when slurry or debris contributes to slow drains (always follow local rules for slurry disposal and prevent solids from entering plumbing where prohibited).
At-a-Glance Details
| Item | Details |
|---|---|
| Product | Wet Concrete & Stone Polisher |
| Availability | In stock |
| Price | 146.01 USD |
FAQ
How much water should be used when polishing concrete or stone?
Use enough water to maintain a thin, continuous film. If the surface heats up, pads start glazing, or haze appears, increase flow slightly; if the pad feels like it’s skating and cutting slows down, reduce water to prevent hydroplaning.
Can a wet polisher be used on granite and marble as well as concrete?
Yes—provided the pads and grit progression are compatible with the material. Softer stones like marble can show swirls more easily, so careful pressure control and thorough rinsing between grits are especially important.
How can swirl marks and haze be prevented during the final grits?
Don’t skip grits, rinse and wipe between steps, and keep pads clean to avoid contamination. Use lighter pressure at higher grits and inspect the surface after it dries, since some haze only becomes visible once water sheen is gone.










Leave a comment